
A Crane Load Chart Is Essential Before Choosing the Right Crane Capacity
A Crane Load Chart is a technical table or set of manufacturer data that shows how much a crane can lift under specific operating conditions, including working radius, boom length, outrigger configuration, and equipment setup.
A crane described as a 10-ton, 25-ton, 50-ton, or 80-ton crane does not mean that it can lift that amount at every radius, height, or position. Actual lifting capacity changes depending on the load position and the configuration of the specific crane model.
Therefore, before selecting a crane rental service , you should prepare the load weight, distance from the crane setup position to the lifting point, required lift height, and jobsite conditions so these details can be checked against the Load Chart of the crane model that will be used.
A Load Chart is manufacturer-provided technical data showing the lifting capacity of a crane under different configurations. Important values to consider include:
- Load weight
- Working Radius
- Boom Length
- Required lift height or lifting position
- Outrigger setup and crane configuration
- Notes and operating conditions specified in the Load Chart
Therefore, a crane's stated tonnage is only one part of the information required. Actual crane selection should be based on the Load Chart of the specific model together with the real jobsite conditions.
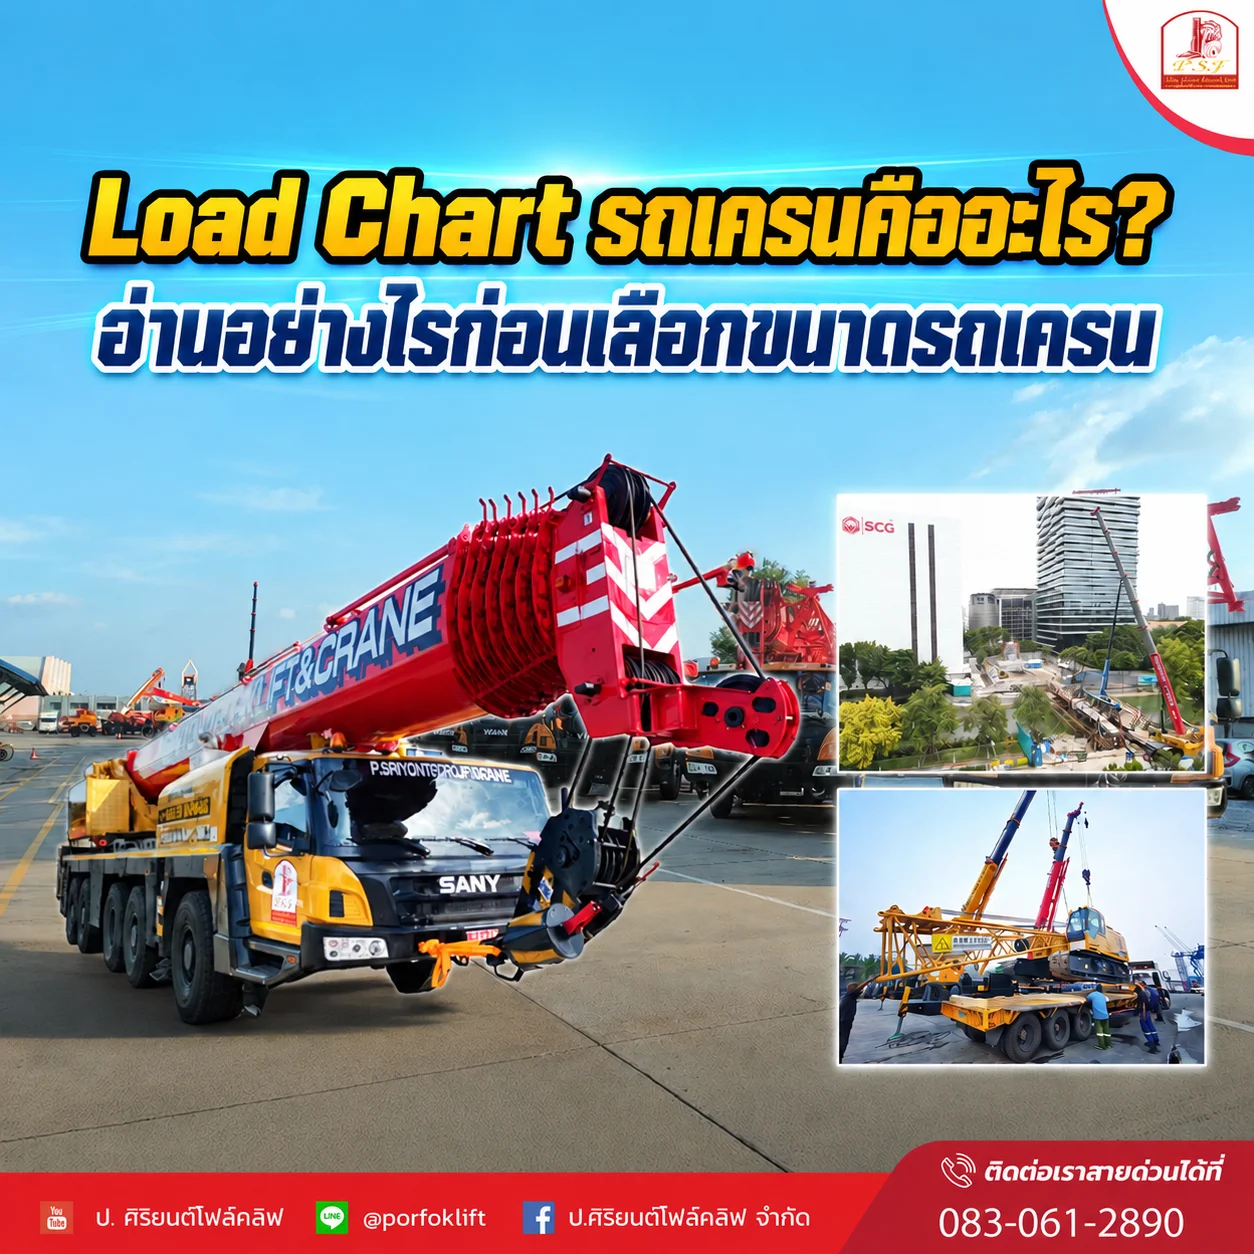
Suggested image: A crane lifting a load with lines illustrating Working Radius, Boom Length, and Lift Height.
6 Key Pieces of Information to Check Before Reading a Crane Load Chart
Before referring to a Load Chart, you should have complete information about the load and jobsite. These details determine which section and values in the chart should be used.
Load Weight
You should know the weight of the load, including lifting accessories or equipment associated with the planned lifting method where applicable.
Working Radius
Working Radius is the operating distance defined by the crane manufacturer in the Load Chart and is generally related to the horizontal distance between the crane's rotation point and the vertical line of the suspended load.
Boom Length
Boom length affects the crane configuration and lifting capacity. The value used must match the actual crane setup.
Lift Height
You should know the starting and final height of the load and whether there are any obstacles or structures along the lifting path.
Outrigger and Crane Configuration
Some crane Load Charts provide different capacities depending on outrigger extension, counterweight, jib configuration, or operating setup. The correct chart must match the actual crane configuration.
Manufacturer Notes
Each crane model has specific Load Chart notes and operating conditions. These should be read together with the crane manual, and a Load Chart from another model should not be used as a substitute.
1. Why Doesn't a 10 Ton Crane Mean It Can Lift 10 Tons at Every Radius?
The nominal ratings used to describe cranes, such as 10 tons, 25 tons, or 80 tons, should not be interpreted as the weight that the crane can lift at every operating position.
As the load moves farther away from the crane, the moment acting on the crane increases, and the allowable lifting capacity shown in the Load Chart may decrease depending on the crane configuration.
Therefore, simply stating that “the load weighs 8 tons” is not enough to determine whether a 10-ton crane is suitable for the job.
You also need to know how far the crane can be positioned from the load, the required lift height, and whether the outriggers can be deployed according to the required configuration.
2. Why Is Working Radius Important?
Working Radius is one of the main values used when referring to a crane Load Chart. The measurement should follow the definition and reference points specified by the manufacturer of that particular crane model.
In actual jobsite conditions, the Working Radius is affected by where the crane can be positioned, as well as obstacles such as buildings, machinery, fences, or areas that cannot support the outriggers.
If the crane cannot be positioned as close to the load as originally planned, the Working Radius may increase, which can require the crane capacity to be reassessed.
This is why jobsite photos and actual distances are important when assessing the appropriate crane capacity for a lifting job .
3. What Should Boom Length Be Considered Together With?
Boom length is related to the distance and height the crane needs to reach. However, extending the boom does not mean that the crane can lift the same load at every position.
A Load Chart typically shows different capacities based on Boom Length and Working Radius, so the operator or planner must refer to the values that match the crane's actual configuration.
If the job requires lifting over a building, machinery, or another obstruction, Boom Length must be considered together with Working Radius and the required lift height.
4. Does Outrigger Setup Affect the Load Chart?
Many cranes use Outriggers to create a stable support base during lifting operations, and some crane Load Charts provide different capacities depending on the outrigger configuration.
Before selecting a crane, the jobsite must therefore be checked to confirm whether there is enough space to position the crane and deploy the outriggers according to the required configuration.
Ground conditions must also be assessed because the outrigger positions need to support the forces generated by the crane during the planned lifting operation.
5. Do Counterweights, Jibs, and Attachments Need to Be Checked in the Load Chart?
Yes. The specific information for the crane model must be checked because some cranes have multiple Load Charts for different configurations, such as counterweight arrangements, boom lengths, jib installation, or outrigger setups.
Load Chart values from a different crane model or a different configuration should not be used as a substitute.
The crane selected for the actual job should be assessed using the technical documents for the exact crane model or unit intended for the jobsite.
Example: Information You Need Before Opening a Load Chart
The table below is only an example of the information that should be prepared when assessing a crane. It is not a Load Chart for any specific crane model and should not replace manufacturer data.
| Information Required | Example Jobsite Information | What It Helps Determine |
|---|---|---|
| Load Weight | For example, 5 tons | Provides the basic weight of the load that must be lifted |
| Crane Setup Position | The crane must be positioned at a distance determined by the actual jobsite | Helps determine the Working Radius |
| Lift Height | The load must be lifted to a position above ground level | Helps determine Boom Length and lifting geometry |
| Outrigger | Enough space is available for the specified outrigger configuration | Ensures the correct Load Chart is used for the setup |
| Obstructions | Buildings, pipes, machinery, or structural elements | Helps assess the boom path and crane position |
What Information Should You Provide Before Renting a Crane?
If you want the service team to help with an initial crane assessment, you should provide more than just the weight of the load.
Provide the actual weight or verified load information.
Width × Length × Height and lifting points, if available.
Helps determine the Working Radius.
Provide the pickup level and final placement height.
Include obstacles, access routes, and available outrigger space.
Specify the location, date, and expected working period.
Summary: A Load Chart Shows Whether a Crane Can Handle the Load Under Specific Conditions
Crane selection should not be based only on labels such as 10 tons, 25 tons, or 80 tons because actual lifting capacity depends on the crane configuration and operating conditions.
The key information that should be considered together is: Load Weight + Working Radius + Boom Length + Lift Height + Outrigger Configuration + Load Chart Requirements
Once complete jobsite information is available, it can be checked against the Load Chart of the crane model being considered to determine whether the crane and its configuration can support the planned lifting conditions.
If you are not sure what crane capacity is appropriate, you can review our 10–500 Ton Crane Rental Services and provide your jobsite information for an initial assessment.
Frequently Asked Questions About Crane Load Charts
Not Sure What Crane Capacity Your Job Requires?
Send us the load weight and dimensions, distance from the crane setup position to the lifting point, required lift height, jobsite photos, ground conditions, and required working date. The Por Siriyont Forklift team can use this information to help assess a crane suitable for the operating conditions of your job.